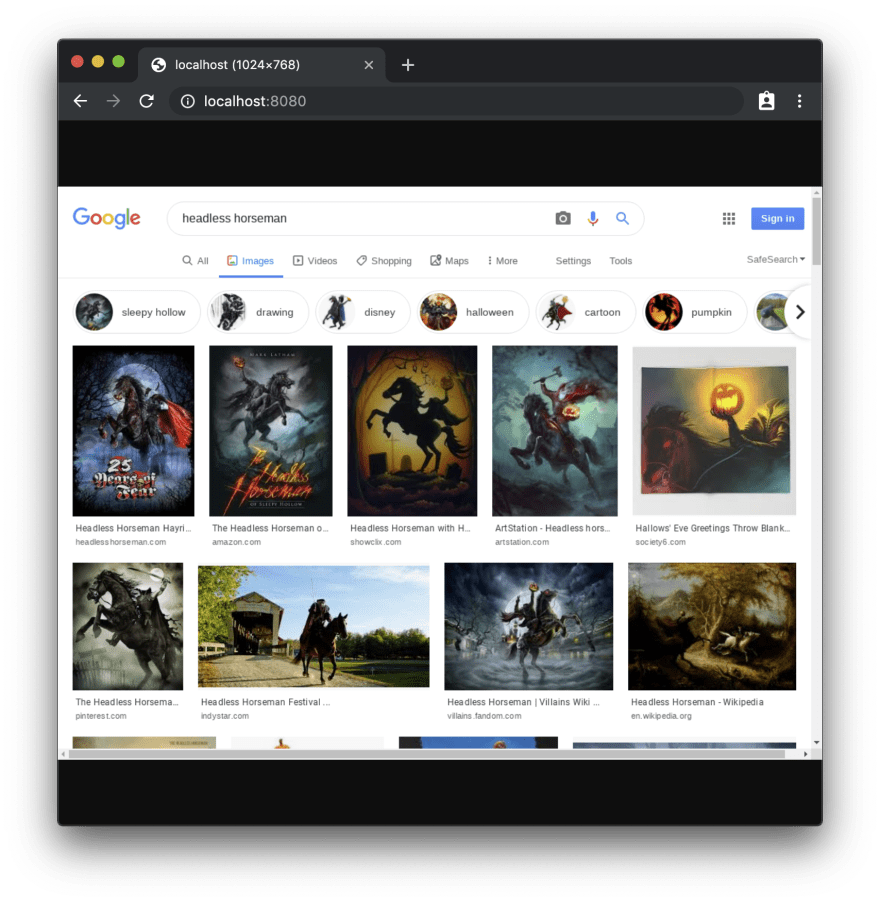
I often see folks trying to use headless Chrome with services like Google Cloud Functions. The phrase "Headless Chrome" might sound very spooky, but it just means the regular Chrome browser, run without a GUI and instead interacted with programatically.
Unfortunately, the necessary Chrome binaries are not installed in the Cloud Functions runtime, and there isn't a way to modify the runtime besides installing Python dependencies.
However, one alternative would be to use Cloud Run, which lets you fully customize the runtime, including installing Chrome! So let's do that.
Configuring: Dockerfile
First, we'll create a Dockerfile. This uses the official Python base image, installs some additional dependencies, installs Chrome, and installs the dependencies for our application.
# Use the official Python image.
# https://hub.docker.com/_/python
FROM python:3.7

# Install manually all the missing libraries
RUN apt-get update
RUN apt-get install -y gconf-service libasound2 libatk1.0-0 libcairo2 libcups2 libfontconfig1 libgdk-pixbuf2.0-0 libgtk-3-0 libnspr4 libpango-1.0-0 libxss1 fonts-liberation libappindicator1 libnss3 lsb-release xdg-utils

# Install Chrome
RUN wget https://dl.google.com/linux/direct/google-chrome-stable_current_amd64.deb
RUN dpkg -i google-chrome-stable_current_amd64.deb; apt-get -fy install

# Install Python dependencies.
COPY requirements.txt requirements.txt
RUN pip install -r requirements.txt

# Copy local code to the container image.
ENV APP_HOME /app
WORKDIR $APP_HOME
COPY . .

# Run the web service on container startup. Here we use the gunicorn
# webserver, with one worker process and 8 threads.
# For environments with multiple CPU cores, increase the number of workers
# to be equal to the cores available.
CMD exec gunicorn --bind :$PORT --workers 1 --threads 8 main:app
Configuring: requirements.txt
This Dockerfile uses a requirements.txt file with specific versions of all our Python dependencies. We'll need to install selenium as well as the specific version of the chromedriver-binary project that corresponds with the version of Chrome that we've installed:
# requirements.txt

Flask==1.0.2
gunicorn==19.9.0
selenium==3.141.0
chromedriver-binary==77.0.3865.40.0
Configuring: main.py
Finally, we'll write a Python application using Flask, Selenium
# main.py

from flask import Flask, send_file
from selenium import webdriver
import chromedriver_binary  # Adds chromedriver binary to path

app = Flask(__name__)

# The following options are required to make headless Chrome
# work in a Docker container
chrome_options = webdriver.ChromeOptions()
chrome_options.add_argument("--headless")
chrome_options.add_argument("--disable-gpu")
chrome_options.add_argument("window-size=1024,768")
chrome_options.add_argument("--no-sandbox")

# Initialize a new browser
browser = webdriver.Chrome(chrome_options=chrome_options)


@app.route("/")
def hello_world():
    browser.get("https://www.google.com/search?q=headless+horseman&tbm=isch")
    browser.save_screenshot("spooky.png")
    return send_file("spooky.png")
Testing & Deploying
If we have Docker installed locally, we can run this to test it:
$ docker build -t my_screenshot_service .
$ docker run --rm -p 8080:8080 -e PORT=8080 my_screenshot_service
And view it at http://localhost:8080
Otherwise, we can deploy it directly to Cloud Run:
$ gcloud builds submit --tag gcr.io/YOUR_PROJECT/my_screenshot_service
$ gcloud beta run deploy my_screenshot_service --image gcr.io/YOUR_PROJECT/my_screenshot_service --region us-central1 --platform managed
And that's it!
A few notes:
- We're using
--no-sandboxto ensure compatibility with the Docker container, so only point such a service towards URLs you trust. - Be careful when exposing such a service to user input: For example, if the URL we were screenshotting was supplied by the user, they could potentially take a screenshot of any file on the filesystem as well!
- Be sure to create a new service account with no permission and use it as the identity of the service, for better security. See https://cloud.google.com/run/docs/securing/service-identity for an example.


